Dry rot is a serious problem that can affect wood in any building. If left untreated, it can cause significant structural damage and even affect the health of residents. Unfortunately, dry rot is quite common, so it’s essential to be aware of it, how to prevent it and what to do if you suspect it’s present in your home.
In this post, we’ll cover some frequently asked questions about dry rot to help homeowners better understand this issue.
What is Dry Rot?
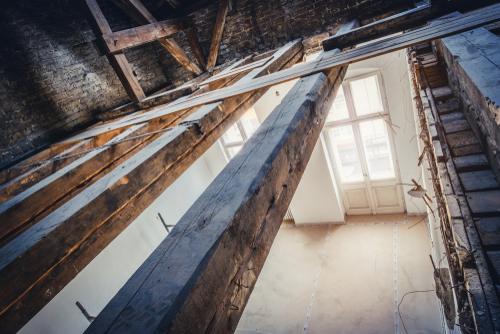
Dry Rot is a type of fungus that typically affects wood. It thrives in warm, damp conditions where wood can retain moisture for extended periods. As the name suggests, the fungus dries the wood out, making it brittle, cracked and weaker.
Dry rot can also spread to other types of building materials, including bricks and plaster. When left untreated, it can cause significant structural damage and even affect the health of residents, as the fungus can release toxic spores into the air.
How Can I Tell if I Have Dry Rot in my Home?
Spotting dry rot is usually relatively easy, thanks to the tell-tale signs of its presence. The following symptoms can be an indication of dry rot:
1) A musty, damp smell in the affected area
2) Wood that looks darker or has a reddish-brown tint
3) Cracked or brittle wood
4) Wood that crumbles when pressure is applied
5) White, cotton-like strands on wood or in cavities
6) Skirting boards or wood-based finishes that have become detached from the walls or floors.
If you see any of these signs, it’s a good idea to get a professional to inspect your home thoroughly. Early intervention can prevent significant damage and save you money in the long run.
Do All Homes Get Dry Rot?
Any building that is made of wood is susceptible to dry rot, regardless of its age or condition. However, some homes are more prone to dry rot than others. Homes with inadequate ventilation, high levels of moisture in the air or an existing damp problem are more likely to develop dry rot.
What Causes Dry Rot?
Dry rot is caused by a fungal spore known as Serpula Lacrymans. The fungus requires certain conditions to thrive and grow, including a source of food (wood), moisture and warm temperatures. Any damp areas in your home can provide the perfect habitat for dry rot to take hold. This could be caused by poor ventilation or a water leak, for example.
How Can Dry Rot Be Prevented?
Prevention is always the best course of action when it comes to dry rot. Here are some tips on how to prevent dry rot in your home:
1) Keep your home dry and well-ventilated – Ensure that your home is adequately ventilated, particularly in areas such as bathrooms and kitchens that are prone to damp. Use dehumidifiers to maintain low humidity levels.
2) Fix any leaks or water damage – Any water damage in your home should be repaired promptly to prevent damp from developing.
3) Inspect your home regularly – Regular inspections can help you identify any damp problems before they become severe.
4) Remove any areas of damp – If you discover any areas of damp in your home, such as water-stained walls or black mould, take steps to rectify the problem.
5) Treat any wood that may be exposed to damp – Wood that is in frequent contact with moisture, such as timber decking, should be treated with a protective layer.
Can Dry Rot Be Treated?
Dry rot can only be treated by a professional. DIY solutions are unlikely to be effective, and it’s essential to get an expert opinion on the severity of the rot problem.
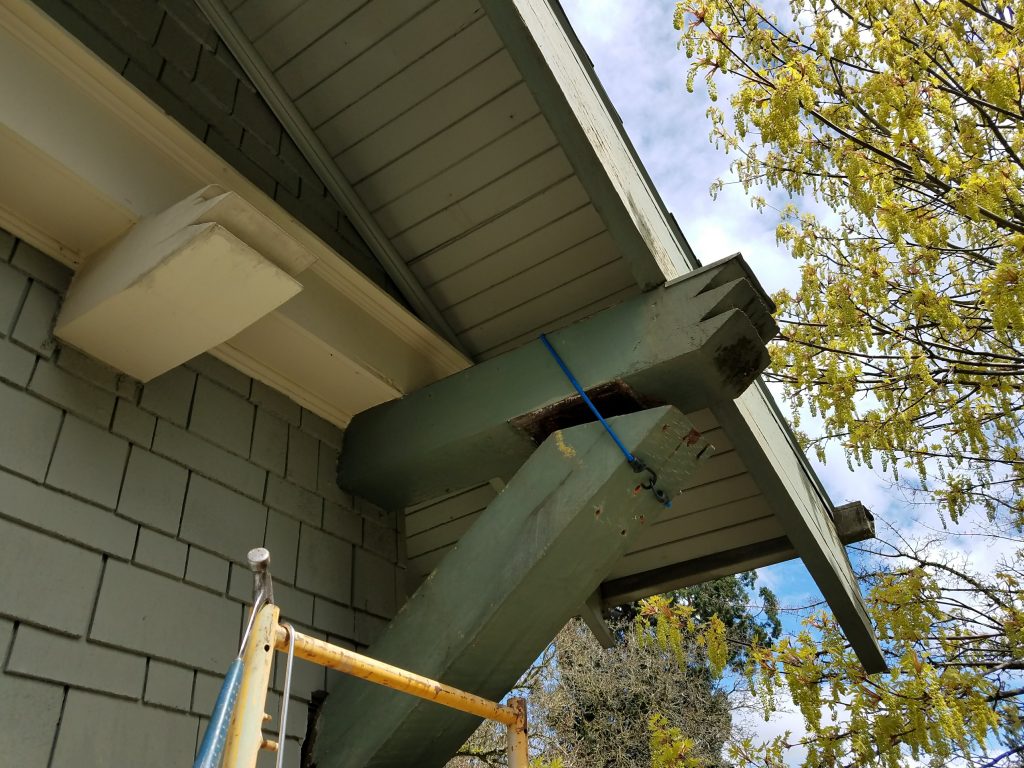
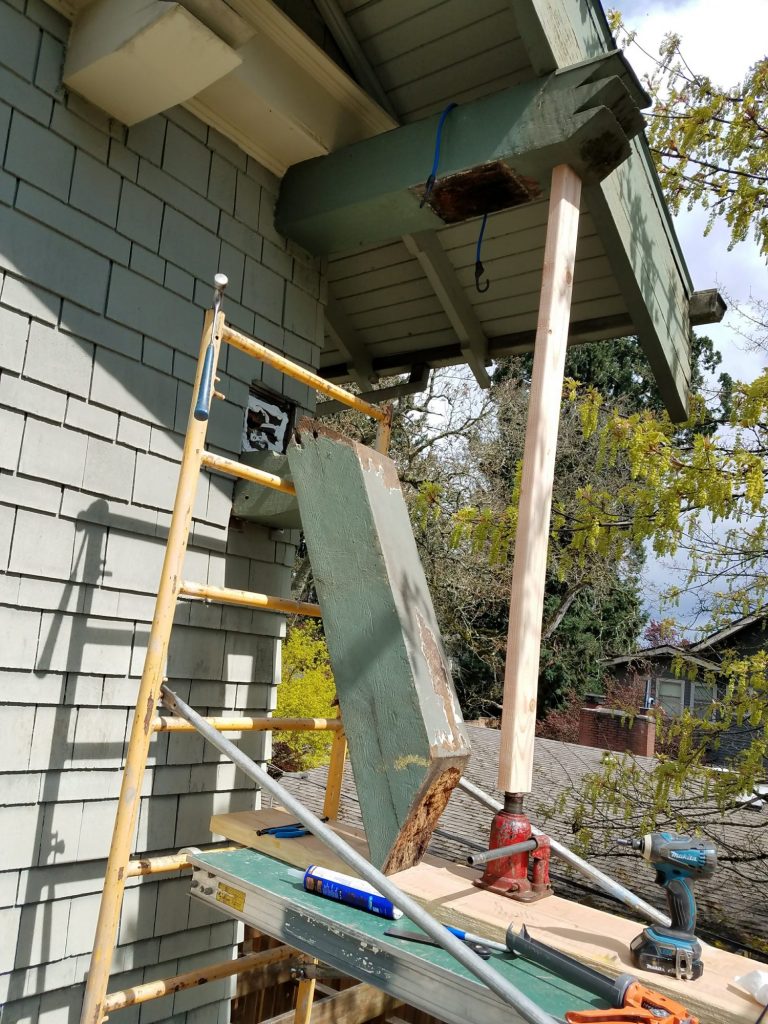
In most cases, the infected area will need to be removed, as well as the surrounding wood. Any plaster or masonry that has been affected may also need to be removed and replaced.
Once the area has been cleared of all infected materials, a treatment will be applied to kill any remaining spores.
Final Thoughts
Dry rot is a serious problem that can cause significant structural damage if left untreated. While all homes are susceptible to dry rot, there are steps you can take to prevent it from developing and to mitigate damage if it does occur. Regular inspections and swift action at the first sign of damp problems can go a long way towards preventing dry rot in your home. If you suspect that you may have dry rot in your home, it’s essential to contact a professional for advice and treatment.


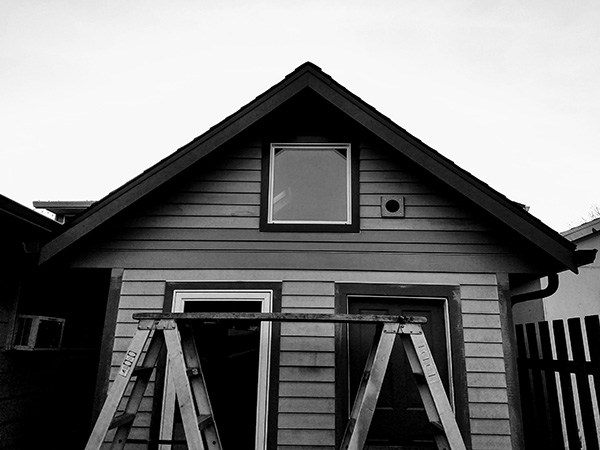


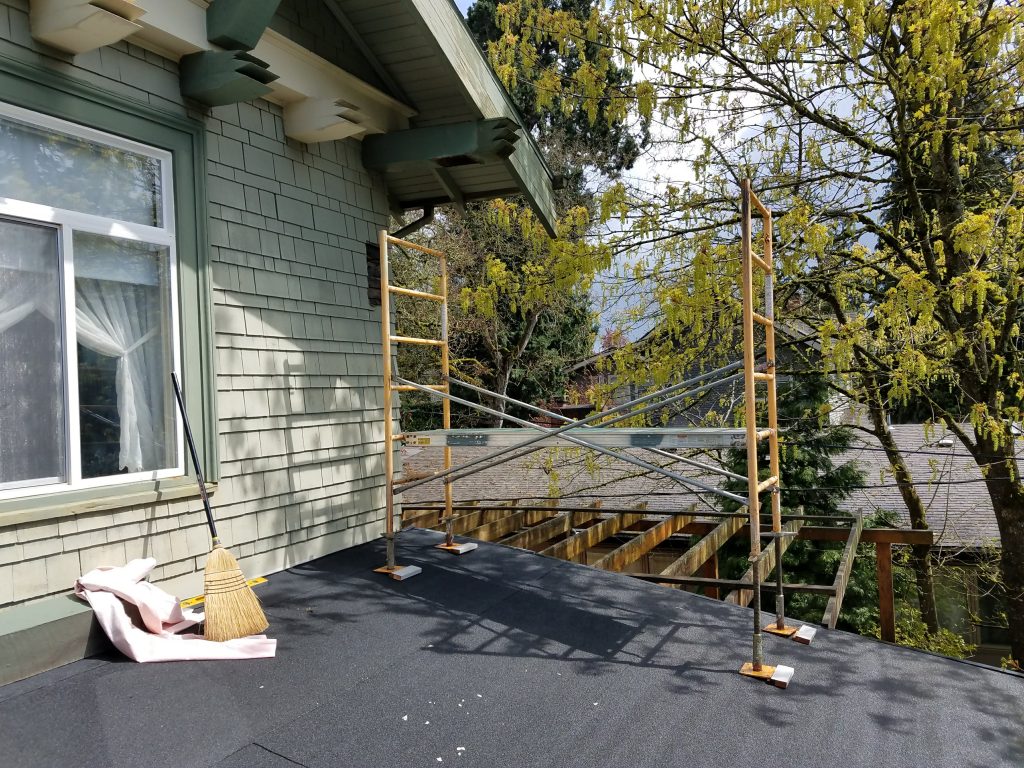
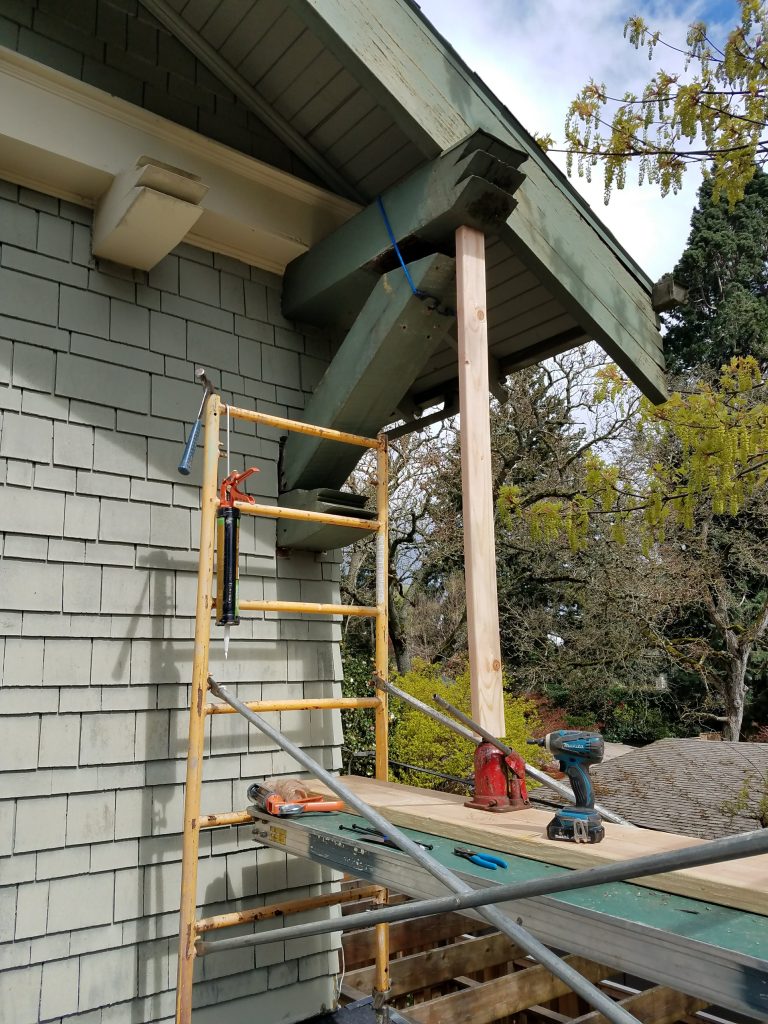

 Repaired right knee brace, caulked and ready for paint!